
Creating a PowerPoint presentation is an exciting, but often time-consuming experience.
Because of this, it can be tempting to delay it until the last minute, then scramble to finish your latest pitch deck in the final hours before the deadline.
Fortunately, it doesn’t need to be like that. You can prevent last-minute panic by following a few simple PowerPoint tips and tricks that will help you deliver your presentations without a hitch.
Master the slide master
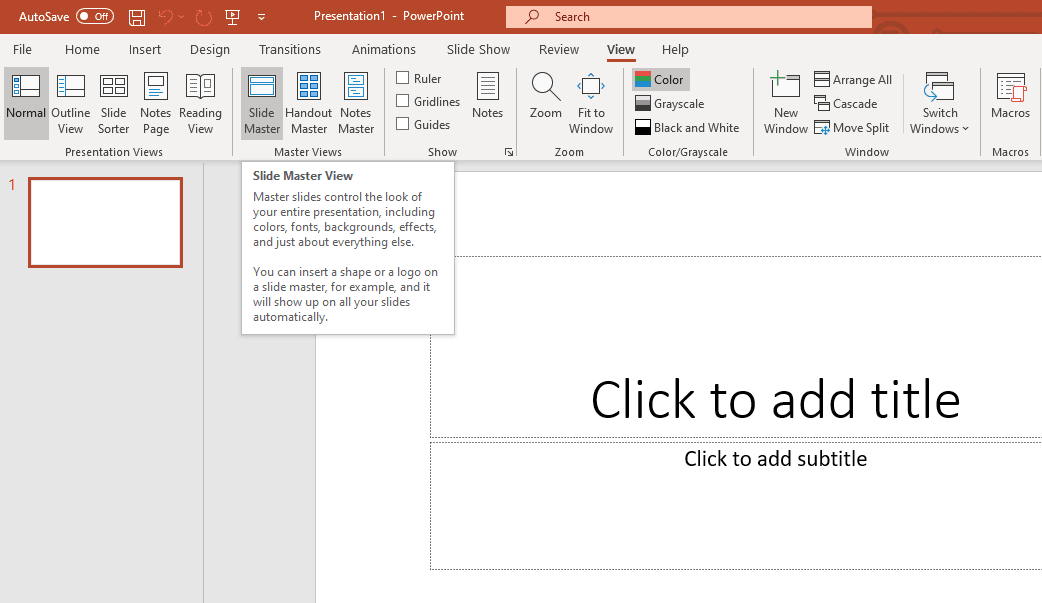
The master slide—if you haven’t heard about it, your life is about to change.
A master slide (or slide master, used interchangeably) is a place where you can edit fonts, images, headers and footers of all your slides at the same time. Such changes apply to all slides, which means no more slide-by-slide deletions adding an hour to your workday.
The first thing you should do is include footer design and page numbers in the slide master.
Common things you’d want to include in your presentation’s footers are time and date, chapter of the presentation, or your logo.
Page numbers are another no brainer—adding them allows for automatic numbering and consistency in formatting across the presentation. It will make your presentation look neat and just a bit more professionally designed.
Both are simple to do—just add the footer on the bottom center and the page number on the bottom right!

You can also use the master slide option to create your own templates.
The process is similar: edit the slide master and your set of slide layouts, then save your presentation as a PowerPoint template, like this:
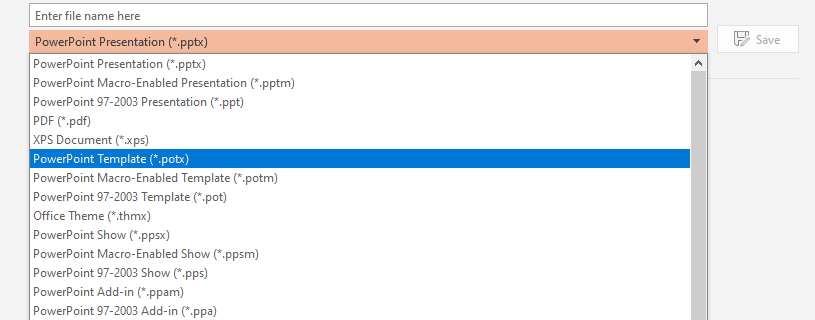
Once you do that, you can easily reuse it and share it with others.
Save time with the align objects tool

If you’ve ever tried to align objects in PowerPoint by hand, you understand the pain. But fear not—those days are over with this next tool!
For our quality managers, the Align Objects tool is a go-to tool to ensure presentations are pixel perfect. It gives your presentations a clean, professional look, while saving you time (and as we promised in the title, many a headache as well).
How do you do it?
It’s actually super simple:
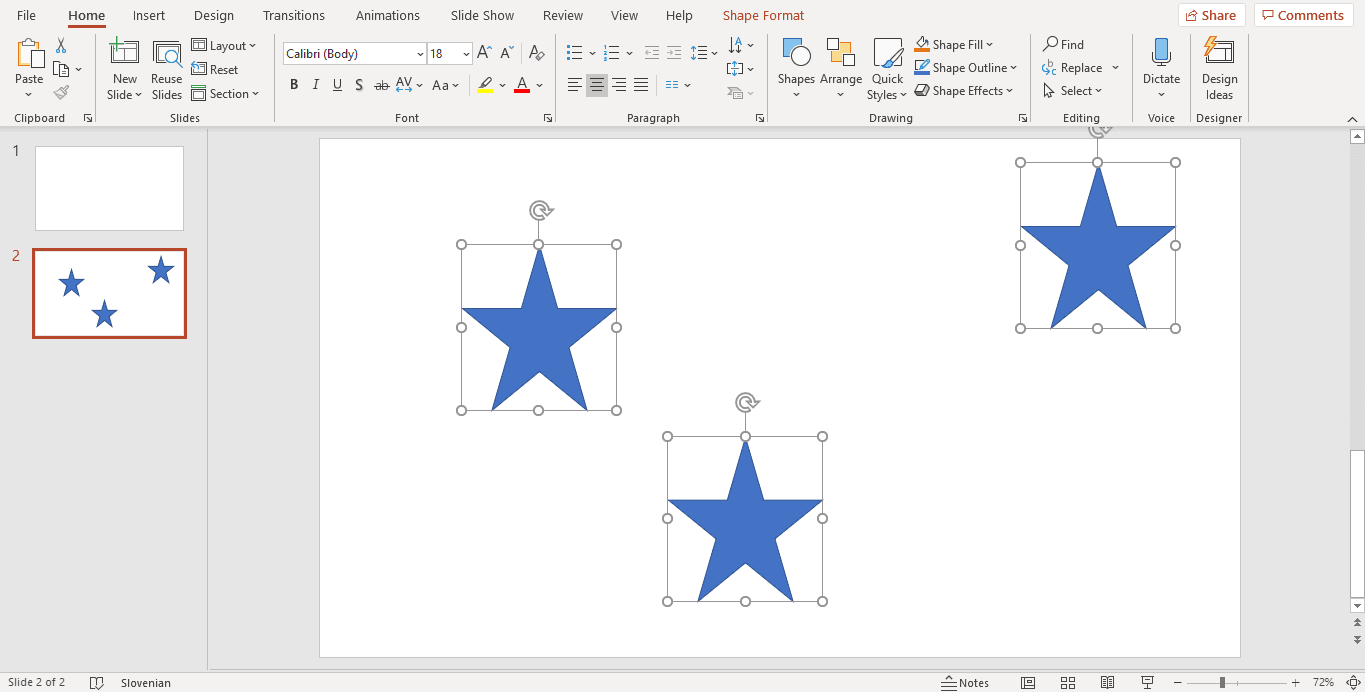
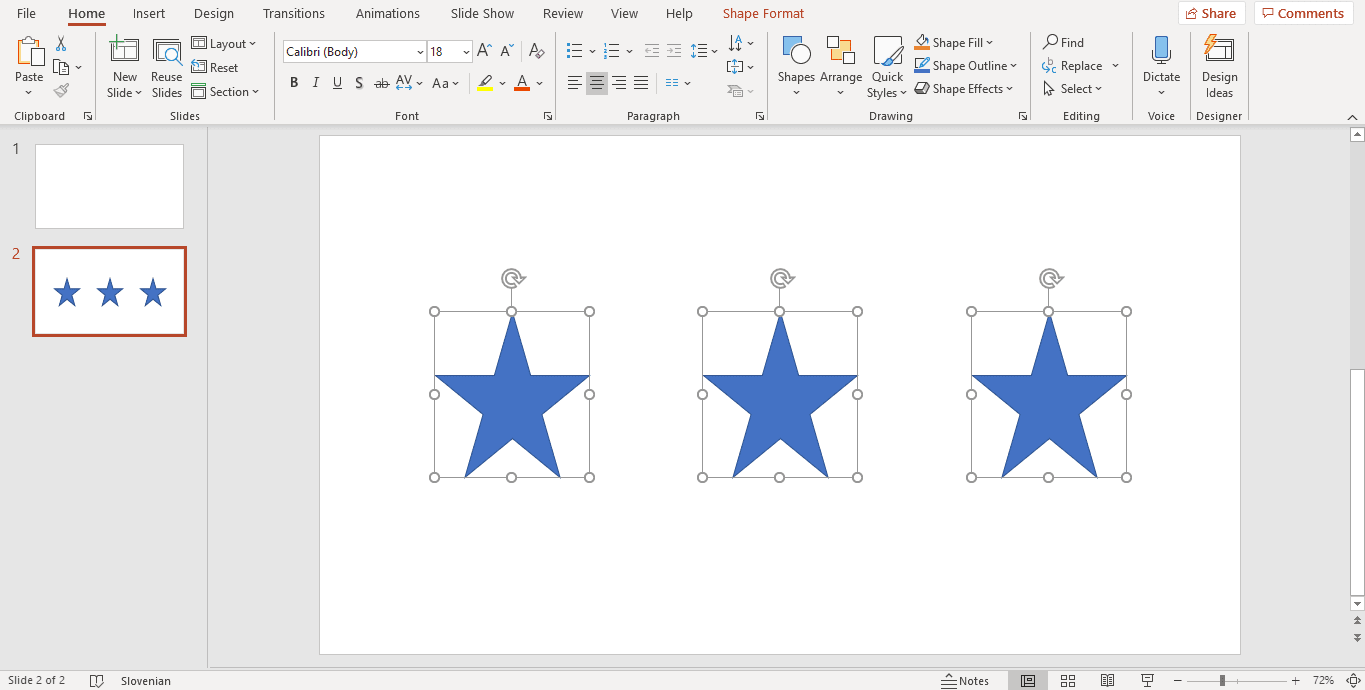
First, select all the items you want aligned, like the stars below.
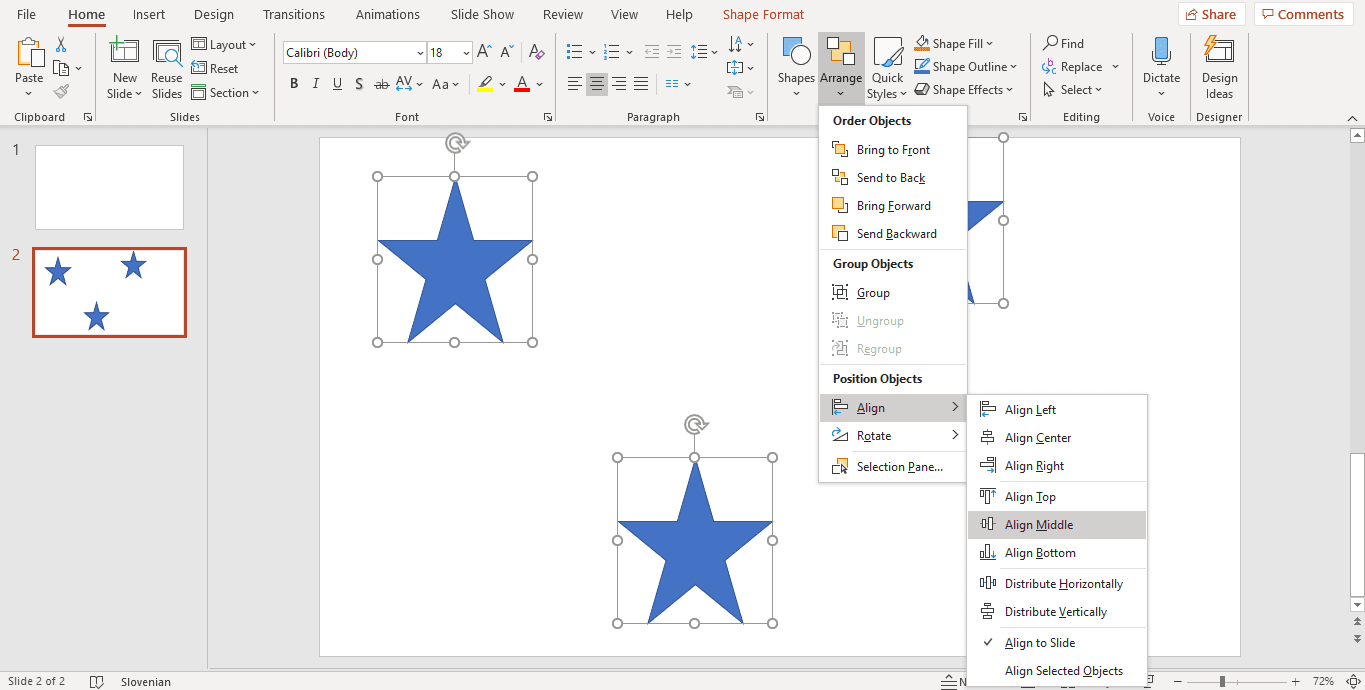
Then, under the Arrange tab of the default Quick Access Toolbar, select Align → Align Center and Align Middle.
If you did it right, you will end up with a lovely arrangement of objects. Neat!
Always be on-brand with the pick up style tool (PC only)
Memorable presentations often have a distinct visual style.
But while complimentary colors, just-right proportions and striking visuals are great, it all gets lost unless everything follows the same guidelines.
However, making sure everything does can be a time sink.
That’s why we love using the Pick Up and Apply Style tools. It’s a quick and easy way to format shapes and text to brand standards and give your whole presentation a unique look.
The Pick Up tool will grab all the characteristics of the selected shape or text box and keep those characteristics until you pick up new ones. Then you can apply those properties to other shapes and text. This is a quick and easy way to format shapes and text to brand standards.
The shortcut for the Pick Up Style tools are worth remembering:
- Pick Up Style: CTRL+SHIFT+C
- Apply Style: CTRL+SHIFT+V
With their use, you can quickly turn two visually different objects…

…into similar ones:

Insert circular images the smart way
Here’s a cool trick to impress your coworkers with:
When in need of inserting circular images, insert a circle and then use the image fill options to select the picture you want to use.
Let’s say we want to introduce our team, for example. The blue circles will be where we will add the images:

Right-click a circle and click Format Shape.

A new tab will open on the right side of the screen.

Select Picture or texture fill and select the picture you want.

Finally, adjust the transparency, offset, scale and alignment as desired.
The result:

Use gridlines for better alignment
Gridlines are a tool you can use to improve your layout skills.
Let’s use the above example:
I want to create a professional layout for my team’s introduction.

However, I’m not really sure where to position the objects. So, to help me, I can turn on gridlines.

Now that I see the lines, I can place the object where I want it:

That looks good.
All that’s left is duplicating and aligning (don’t forget to use tip no. 2!) like so:

And voilà, we have a layout!
Use the PowerPoint video compression option
Using multimedia files or videos in your presentations could result in a very heavy file, so a good trick is to use the Powerpoint video compression option.
To do that, go to File → Info → Compress Media.

Select the quality you want and it’s done!
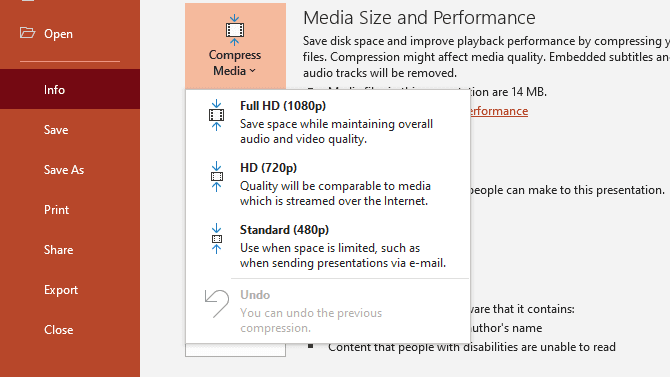
Your file will be reduced significantly – using the 720p option, the initially almost 14 MB file was reduced to just 4,3 MB.

Work faster with the Animation Painter Tool
When animating various objects that use the same actions, it’s useful to use the Animation Painter Tool. This will copy the animation from the original object to the new one and save you time so you don’t have to animate each one individually.
- Select the object with the animation you wish to copy.
- On the Animations tab of the toolbar click Animation Painter.

- Click on any object you’d like to apply the animation to. Done!
BONUS TIP for Mac users
You didn’t think we’d forget you, wonderful Mac users?
While the PC has its own PowerPoint tricks, so does Mac. Here’s one:
Use OpenOffice to convert your icons or any Illustrator vector into an editable vector for PowerPoint or Keynote.

This will allow you to save time in the round of changes and have more professional results.
Get designin’, get time savin’
PowerPoint is a tool like any other—the more you use it, the better at it you become.
The PowerPoint tips and tricks shown here will go a long way towards making the program a friend, not a foe in your everyday quest for meaningful communication and beautiful presentations.
Save this article in your favorites and keep using the tools we’ve shared – we promise that they will be second nature in no time!
